How to link your website email address with your Gmail account
This is one of those things that has to be done time and again and so we thought we would create this handy step-by-step guide so that you can easily check how to link your website email address with your Gmail address. Here’s how to do it…
Step 1:
Login to your Gmail account and navigate to the settings icon on the top right of your screen.

Step 2:
Click on the cog icon and select settings from the drop down menu.

Step 3:
Navigate down to “Send mail as” and the “Add another email address” link.

Step 4:
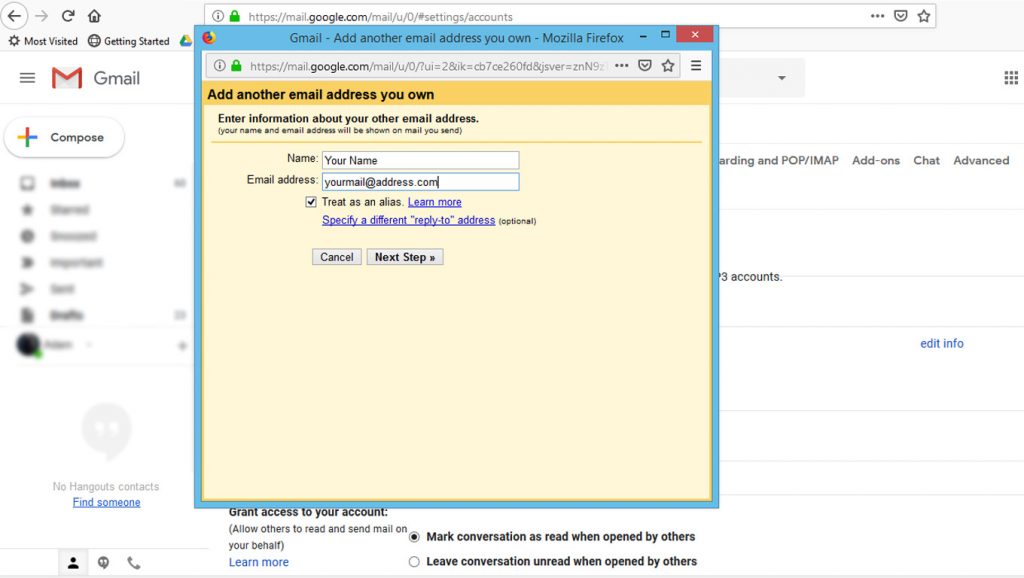
A pop up screen will appear and ask you to fill in details to add another email address. Fill in your name and the website email address that you are linking to Gmail and click the next step button.
Step 5:
You now be directed to a new pop up screen where you will need to input the following info:
- SMTP server: rs6.cphost.co.za
- Username: your new website email address in full
- Password: the password that we will supply to you or from hosting company.
- Port: 465
Then you may select add account.
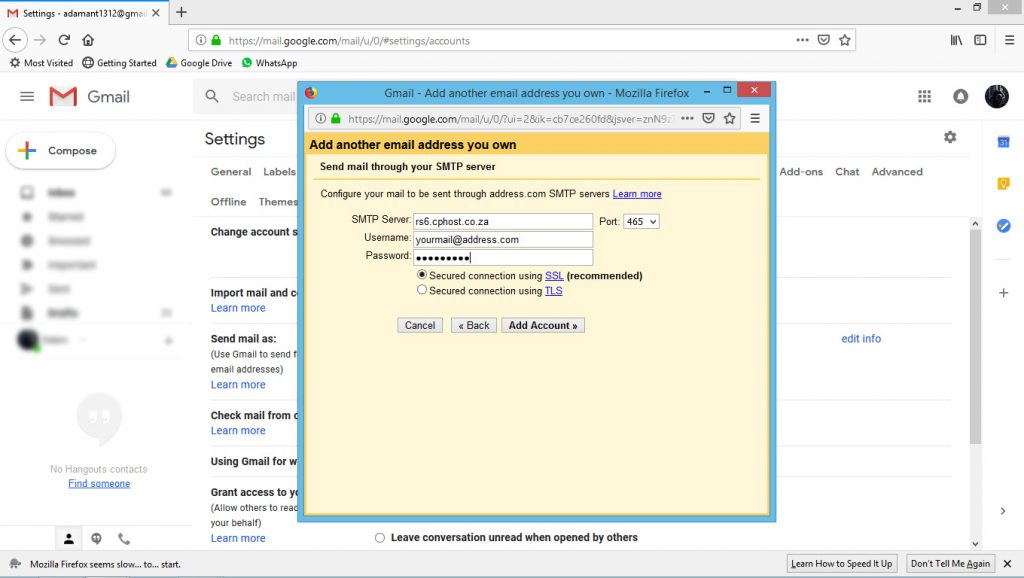
You will now see a screen that looks like this.
Step 6:
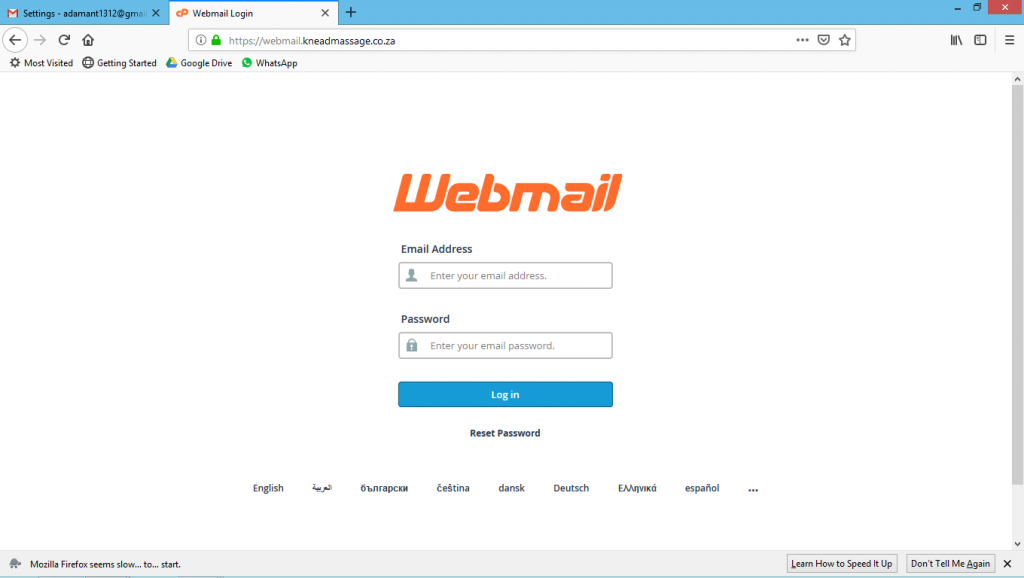
In a new browser window go to webmail.yourdomain.co.za. Login in using your website email address and the password that we previously provided you with.
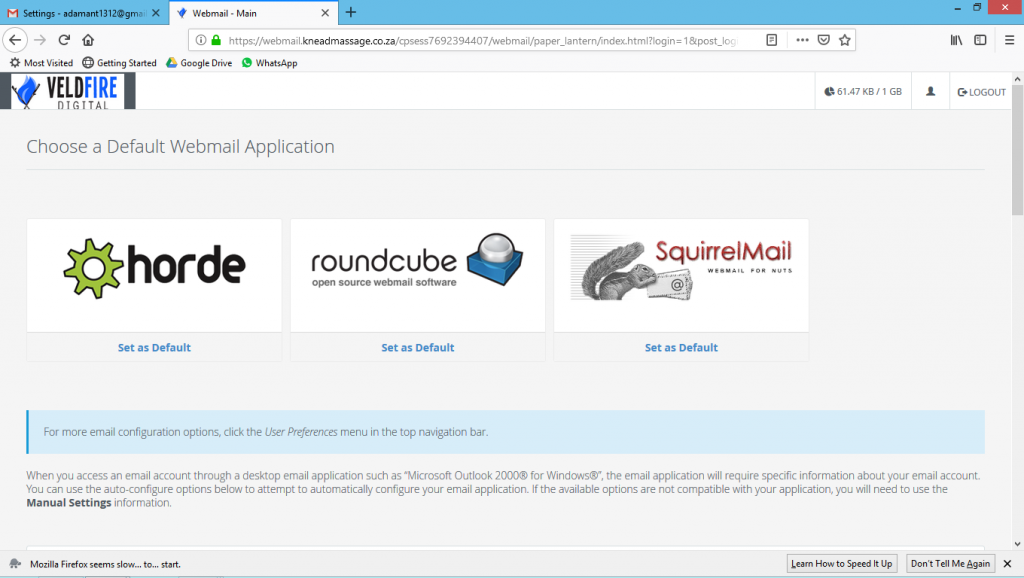
Step 7:
You will now see a screen that looks like this. You can select which ever you prefer but for this demo we have used Horde.
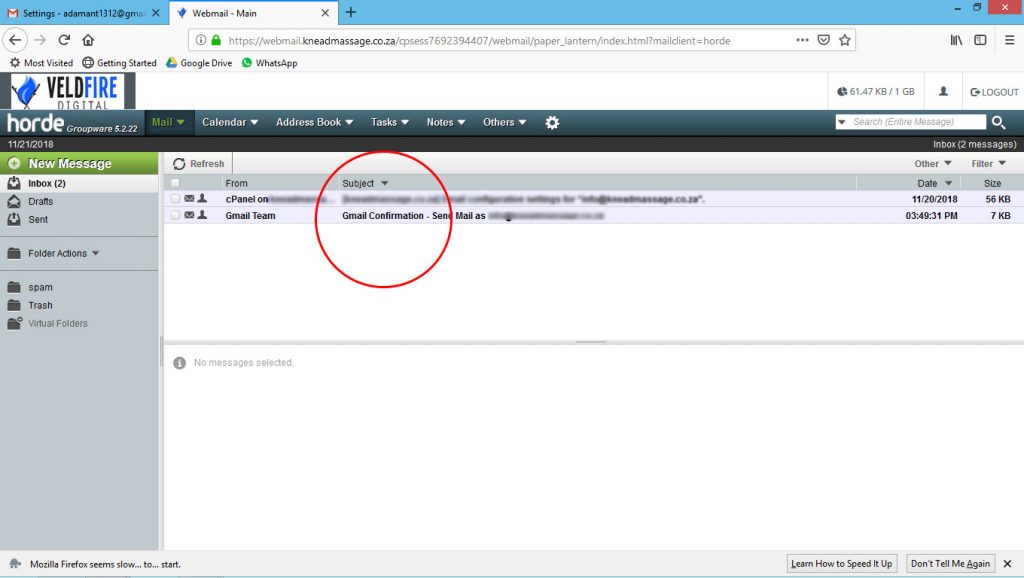
Step 8:
You will now be taken to the Horde inbox where you will need to open the email from the Gmail team and copy the code that is provided in the email.
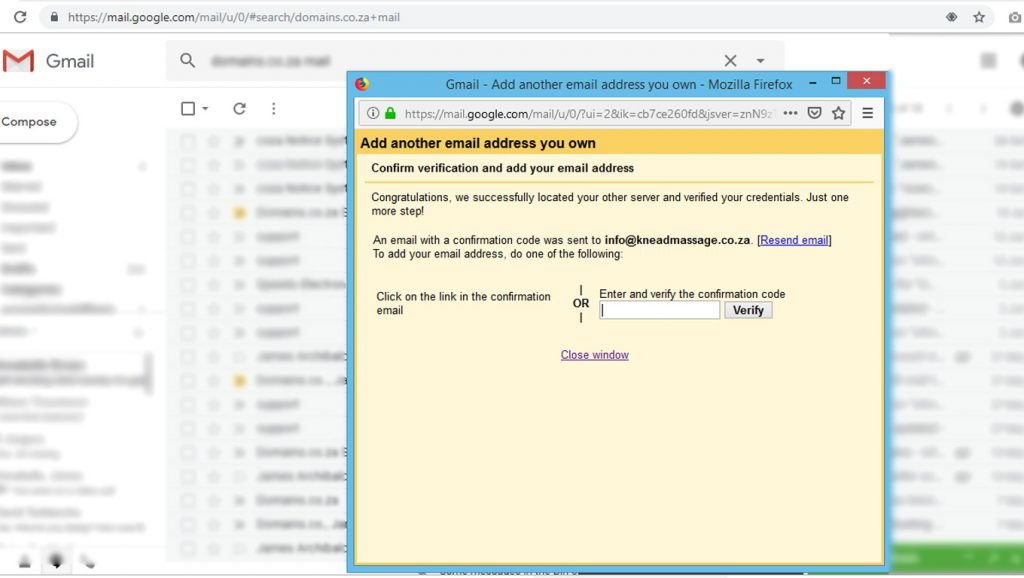
Step 9:
Take the code that Gmail gave you and paste it into the verify bar and click verify. You will now be able able to send emails as your website email address from your Gmail account. Go to the next step if you would also like to receive emails from your website email address in Gmail. (Gmail limits the number of email accounts that you can receive emails from to 5 but there is no limit on sending.)
Step 10:
Repeat steps 1 & 2 to return to the “Accounts and Import” window. Navigate down “Check mail from other accounts” and click on the “Add a mail account” link.

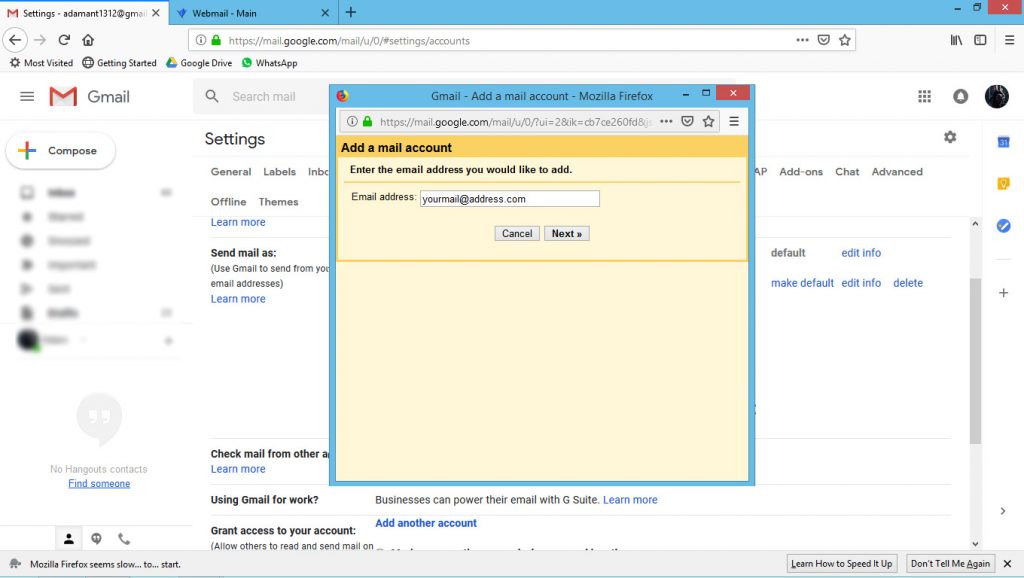
Step 11:
A pop up screen will appear where you will need to fill in your website email address and click next.
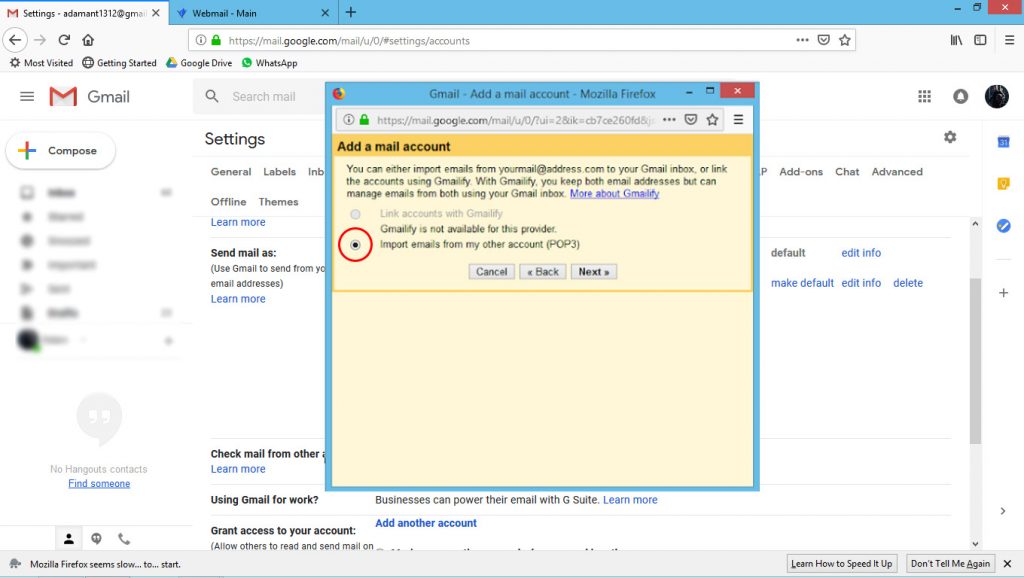
Step 12:
Make sure that the “Import emails from my other account (POP3) is selected and click next.
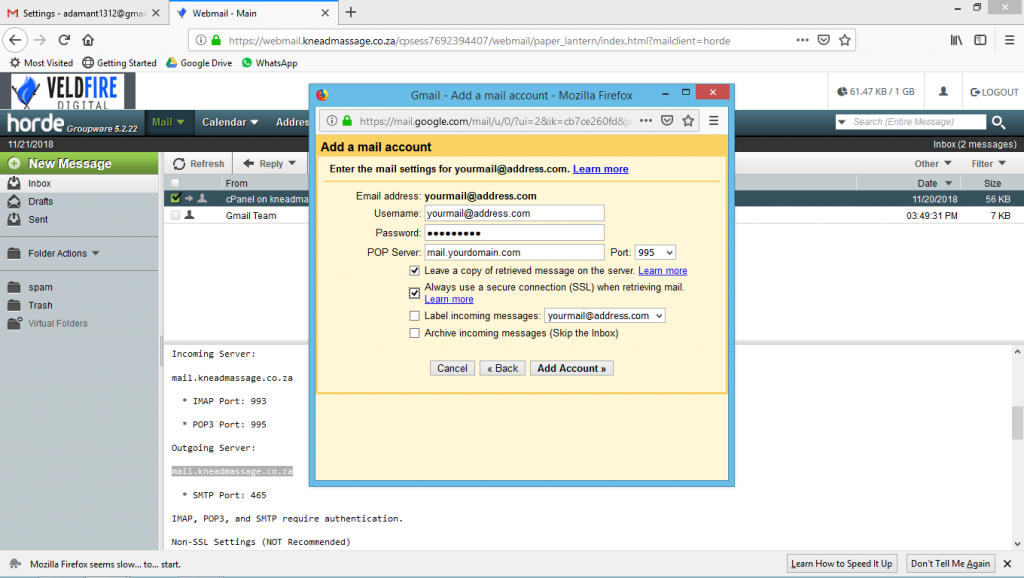
Step 13:
You now be directed to a new pop up screen where you will need to input the following info:
- Username: your new website email address in full
- Password: the password that we will supply to you or from hosting company.
- POP server: mail.yourdomain.com
- Port: 995
By default all the remaining boxes will be un-ticked, you may select which ones you prefer but we recommend that you tick the first two. Then you may select add account.
If you have entered all your information correctly, you will now be able to send and receive emails from your Gmail account. When creating new messages and replying to messages, you’ll now have the choice of sending from your Gmail address or this new one.


